Ever since Microsoft unveiled its plan to introduce a native backup solution for M365, I’ve been eagerly anticipating the chance to put it to the test. Despite being in the public preview stage, it is showing promise. Securing your Microsoft 365 (M365) environment through backups is essential for protecting data and defending against cyber threats. It enables swift recovery from accidental deletions, cyber attacks, and unforeseen incidents, guaranteeing continuous operations and instilling confidence in the integrity of your data.
Requirements
In order to configure the you need to link it to an Azure PAYG subscription is required, and a resource group.
Initial Setup
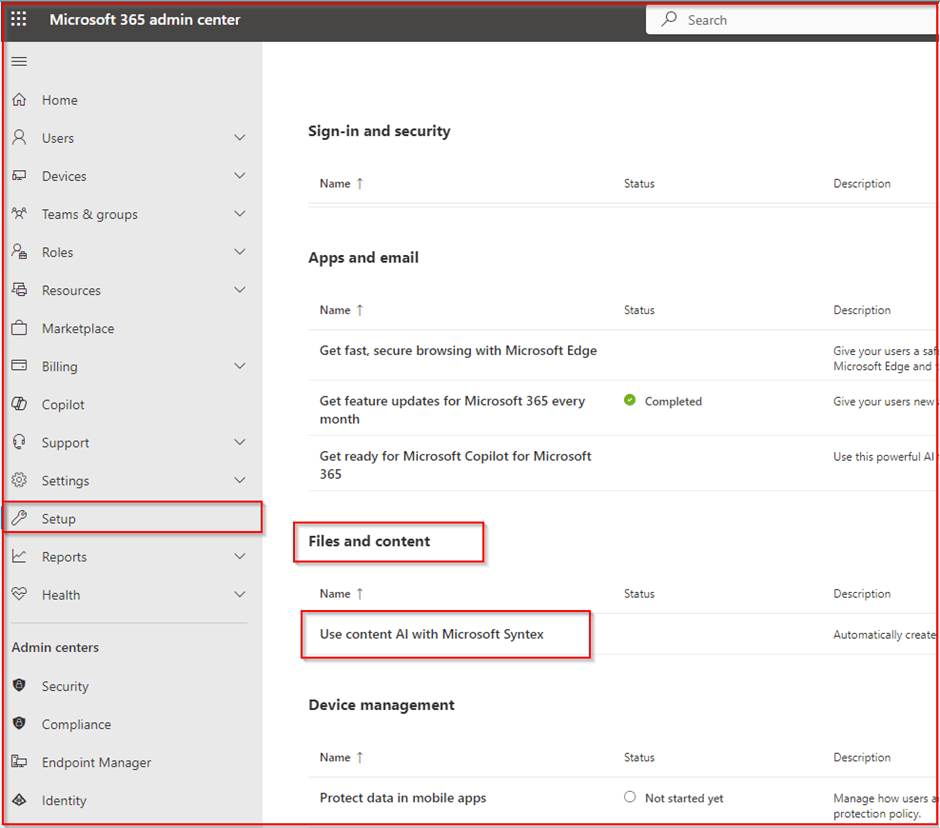
Login into the M365 Admin Centre browse to:
- Setup
- Files and content
- User Content AI with Microsoft Syntex
Click on Set up Billing and add your Azure subscription and resource group. The resource group will not contain the backups, or any data, I suspect it would be used for billing purposes.

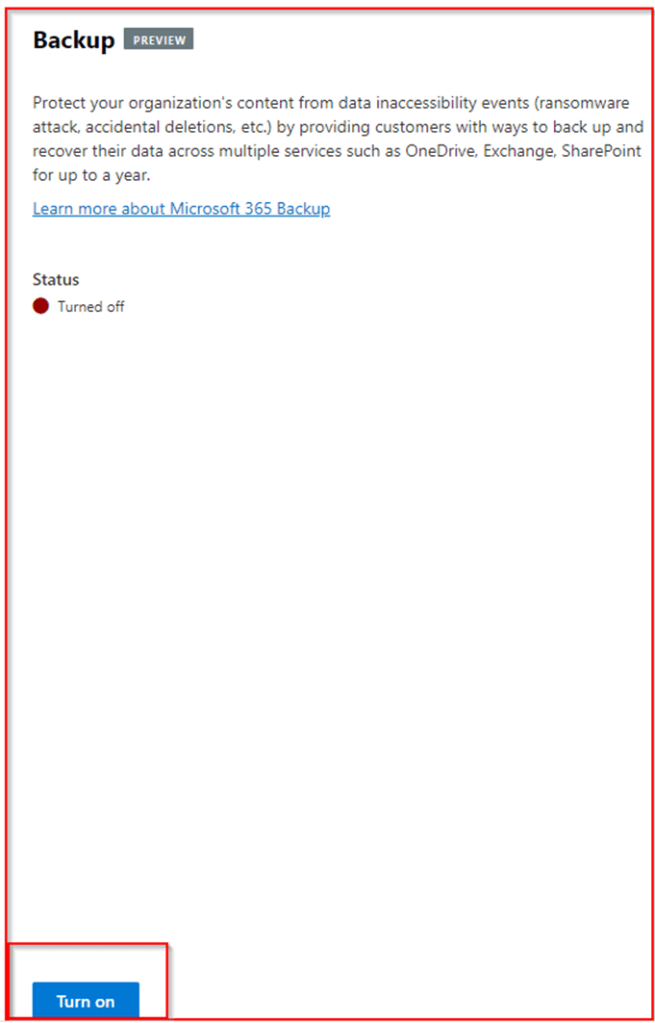
On the Manage Microsoft Syntex section, click on the Backup (Preview) and turn it on.

Backup
We are not ready to set up some backup policies and do some testing.
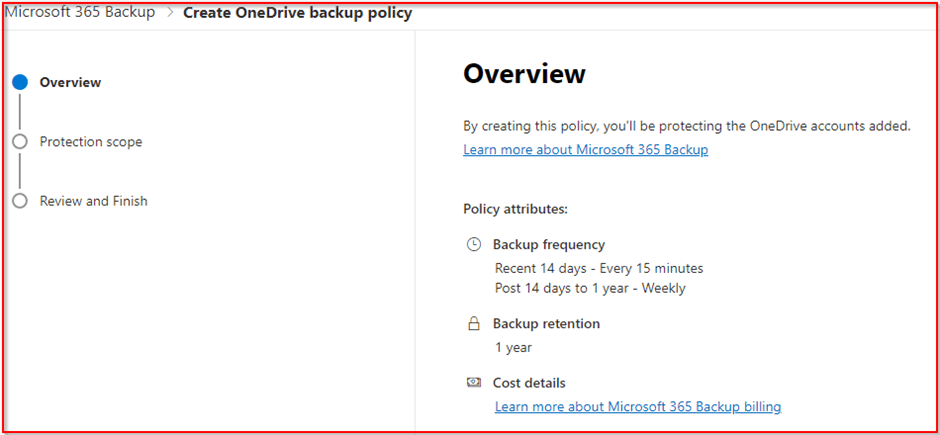
Select the service you would like to backup. In my case it will be OneDrive, but its the same process for all of them.

The backup and retention policy is shown below. The maximum current retention is one year.
Add the scope of the backup. You have a few different options, in this case i will be adding a single user.

Once you have confirmed the policy, you will get a confirmation screen, you will also notice a status of processing, while everything has been setup and configured. Backups will now be taking place every 15 mins.

Microsoft have included a nice little option to pause a backup policy if required. You can also edit the scope of policy, by adding or removing users.

Restoring a Backup
Restoring from backup is pretty straightforward, select the service you would like to restore and click restore.

Select the account you would like to restore:

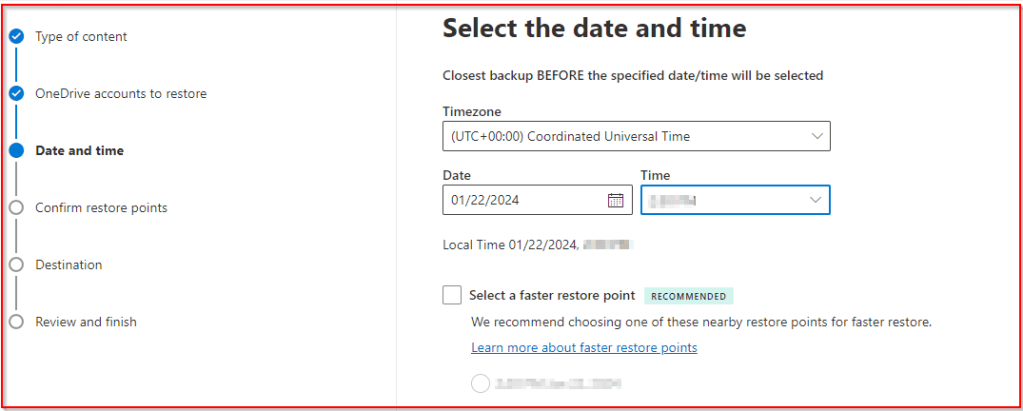
Select the date and time to restore from. Depending on the data and time of your restore Microsoft may suggest a specific retore point for faster restores.
https://learn.microsoft.com/en-us/microsoft-365/syntex/backup/backup-restore-data?tabs=onedrive
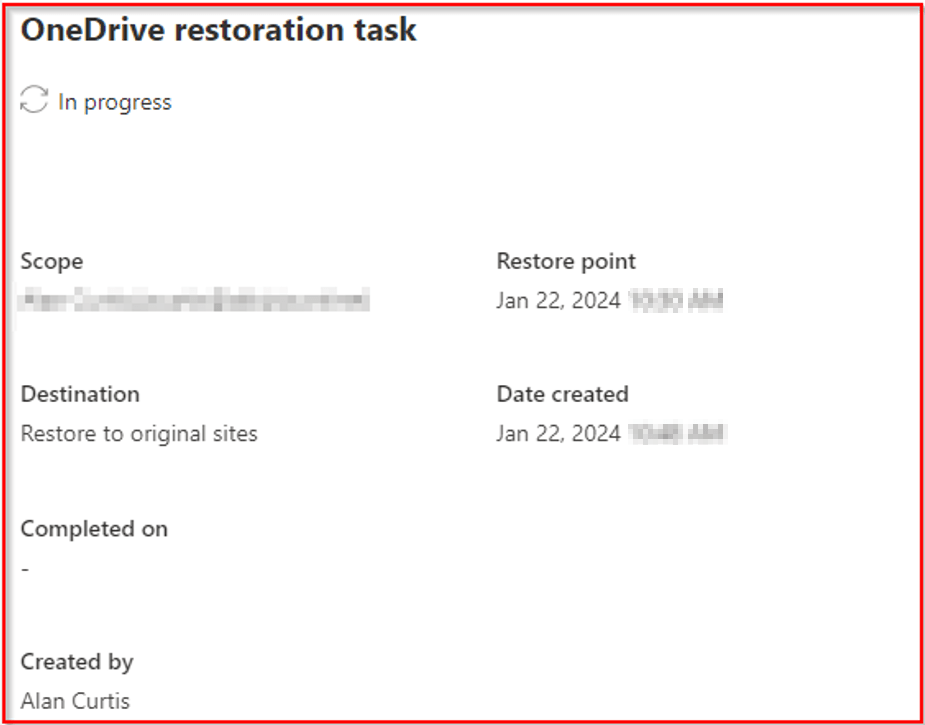
After confirming the restore point, you can select to restore the data to the original OneDrive account, or to create a new SharePoint site to restore the data. Restoring to OneDrive will replace all the data in the account. Therefore if you select this option it should only be done when a user is not storing new data to the account. Ideally this would be done out of hours.

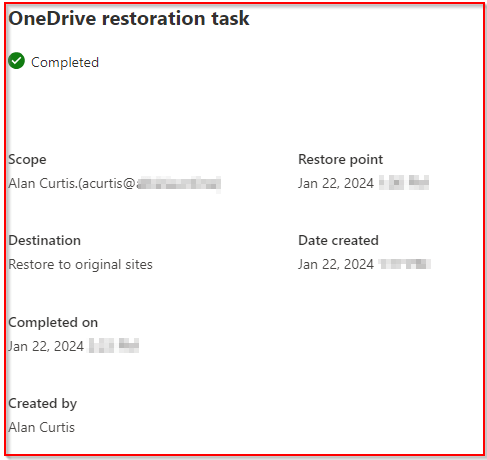
You can view the restored data from the restoration task page.
Once complete you will receive confirmation.
Restoring Emails
When restoring emails, you do have the option to do a restore in place, or to restore to a new folder in the mailbox.

Conclusion
If you’re looking for a straightforward native M365 backup solution without unnecessary complexities, your search ends here. While I anticipate a few adjustments before general availability (GA) release and anticipate further enhancements in the coming months, Microsoft has done a pretty good job..
https://learn.microsoft.com/en-us/microsoft-365/syntex/backup/backup-overview
https://learn.microsoft.com/en-us/microsoft-365/syntex/backup/backup-pricing
https://learn.microsoft.com/en-us/microsoft-365/syntex/backup/backup-faq


